
You understood correctly; it’s possible to create an antenna in just a few steps using the tutorial available on YouTube. The images are so comprehensive that no further explanation is necessary.
It really only takes a few minutes and very little material, which can be found in any hardware store or electronics store.
The first step is to take a can of tuna or any other food with a similar container, preferably made of the same material. Empty it and wash it carefully after removing the lid with the tab: don’t throw this away, but keep it aside because you’ll need it soon.
During these initial steps, it’s important to be careful not to cut yourself. After carefully washing and drying the box, mark the center of the bottom with a marker and then drill a hole .
Once we have the hole, we can take an adapter and insert it , then screw the nut onto the part that comes out and tighten it well.
Now take a 10-centimeter antenna cable and cut both ends of the plastic sheath to reveal the internal filaments. One part should be connected to the adapter inserted in the center of the can , internally.
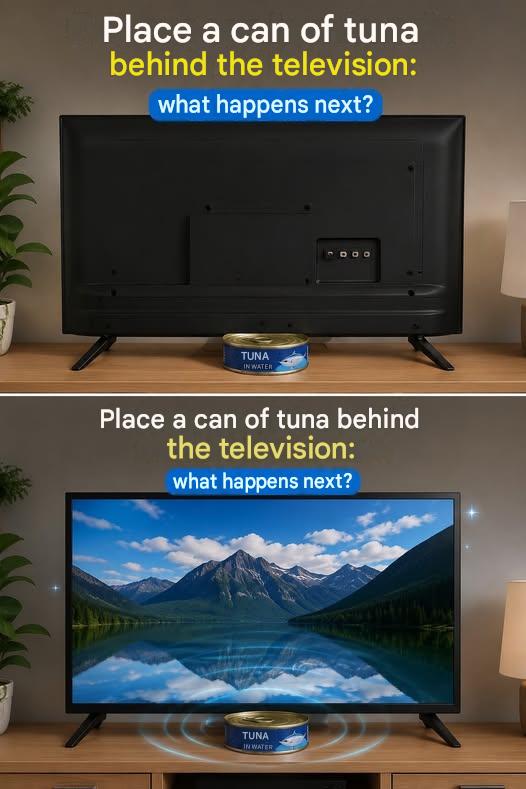
Now we take the remaining piece of antenna cable and screw on the appropriate adapters to then connect the two ends respectively to the one that is inserted into the box (outside) and to the input that is usually behind the television.
We finish with the last step, which is to take the tab we removed earlier and secure it inside the box, where the adapter will go with a piece of antenna cable. Once this is done, we’ll have our very original and inexpensive DIY antenna, and as you can see in the YouTube video, the TV receives the signal perfectly when connected, while it turns off when we unscrew the antenna from the box . Amazing! No expensive work and no effort required.
