
Mastering the Crochet Shell Stitch: A Photo Tutorial for Beginners
Greetings, yarn enthusiast! Today, we’re diving into one of my all-time favourite crochet stitch patterns – the Shell Stitch. Whether you’re just starting your crochet journey or you’re an old hand at hooks and yarn, this pattern deserves a cosy spot in your repertoire.
Why do I love it so much? It’s simple: the Shell Stitch is an elegant mix of texture and ease. It looks intricate but is surprisingly beginner-friendly, and the result? A gorgeously scalloped fabric that works beautifully across a range of projects.
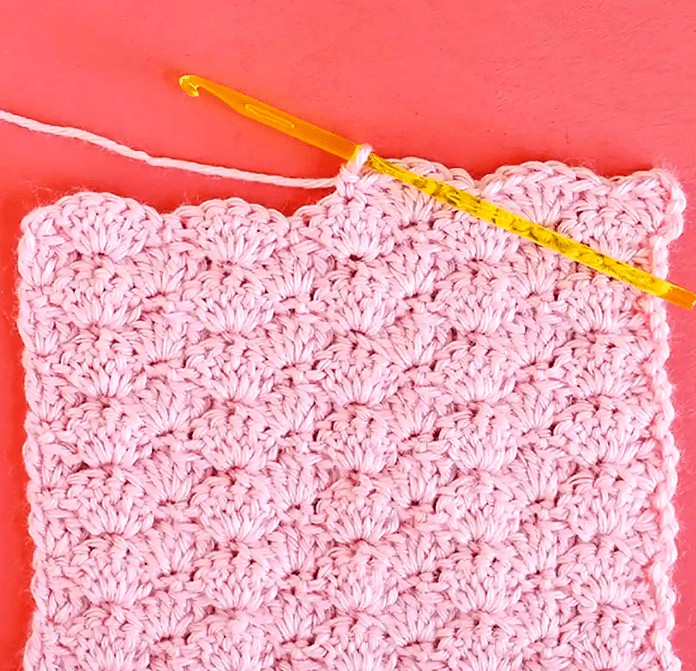
Crochet Shell Stitch
What You’ll Need:
-
Yarn of your choice
-
Crochet hook (I used a 5.00 mm – H hook)
-
Scissors
-
Yarn needle for weaving in those pesky ends
Pattern Notes:
This version of the Shell Stitch creates a snug, textured fabric with minimal gaps – perfect for warm, comforting pieces like blankets, washcloths, and scarves.
Your starting chain (or foundation row) must be a multiple of 6, plus 1. For this tutorial, we’re using 31 single crochet stitches, which results in five shells across.
The Tutorial
Row 1: Foundation Row (Single Crochet)
Start with your foundation row. You can either chain and work a single crochet into each chain, or use the foundation single crochet technique (a great alternative if you dislike working into chains). Just make sure your final stitch count follows the 6+1 rule.

Row 2: Let the Shells Begin
-
Chain 1.
-
Single crochet in the first stitch.
-
Skip 2 stitches, work 5 double crochets in the next stitch.
-
Skip 2 stitches, then single crochet in the following stitch.
Repeat from * to * until the end of the row. You’ve just made your first row of shells – look at you go!
