
The DIY bleached two-tone flannel is a creative and stylish way to upcycle an old buffalo check flannel shirt into a trendy, unique piece of clothing. This hack is gaining popularity because it offers a fresh twist on a classic wardrobe staple, allowing fashion enthusiasts to express their individual style. By simply dipping the bottom half of a flannel shirt into a bleach solution, you can achieve a chic, gradient effect that transforms the garment into a statement piece. This DIY project is perfect for anyone looking to add a personal touch to their wardrobe without spending a lot of money.
This DIY bleached flannel shirt can be styled in various ways to enhance your interior design aesthetics. Hang the shirt on a decorative clothes rack in a bedroom or creative studio to showcase your handiwork as a piece of art. It can also be used as a throw over a chair or bed to add a touch of rustic charm and warmth to the room. Pair it with neutral tones and textures like burlap or linen to create a cozy, inviting atmosphere.
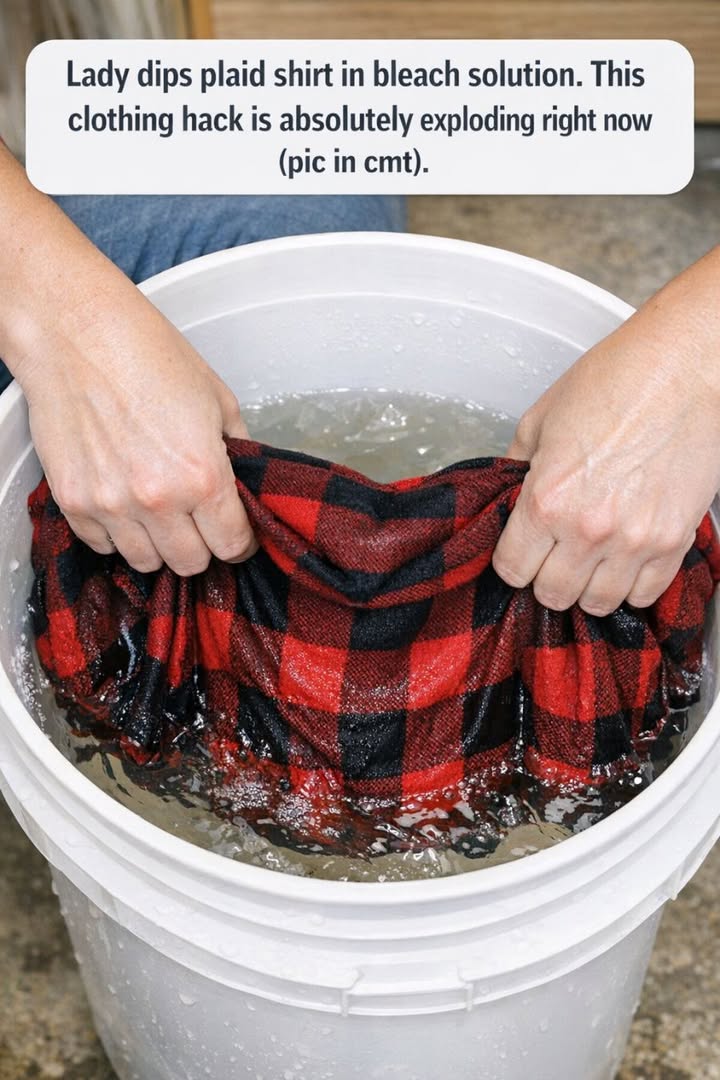
DIY Bleached Two-Tone Flannel Shirt
Materials
Red and black buffalo check flannel shirt
1 plastic bucket
1 cup of clear bleach
Water
Rubber gloves
Protective mask
Plastic or trash bags to protect surfaces
Hangers or a clothesline for drying
Directions
Lay down plastic or trash bags to protect your work area from spills.
Fill the plastic bucket with a 1:1 solution of bleach and water.
Put on rubber gloves and a protective mask to protect your skin and lungs from the bleach fumes.
Dip the bottom half of the flannel shirt into the bleach solution. Hold it there for about 5-10 minutes, or until the desired lightness is achieved. Keep in mind that the color will continue to lighten slightly after removing from the bleach.
Next Page
Pages: 1 2
